Added Items to the cart
Learn How To Set Up Artwork For Clear Stickers Or Labels
Learn how to set up up a file for a clear sticker or label at StickerGiant.
This demo will be demonstrating how to do this with a vector file. We will have another video for how to do it with a raster image!
Vector File
First you will open your file in Adobe Illustrator. We will be putting this battery on a 4 x 3 clear rectangle sticker.
Next you will want to check the size of your image. Resize if needed to be 0.25” smaller than the desired size, to account for inset margins.
Next, select the rounded rectangle tool. Input your desired size. .125” is our standard corner radius. Set your created shape to have a bright color for the stroke. We use 100% magenta.
Then center the cut line using the align tool.
Next, make sure the cutline is selected and go to the Object drop down menu, go to Path, then chose Offset Path. Input .125”. This will offset the path to create a shape beyond the cutline showing what you want to be clear on the sticker. We usually fill this with 20% cyan.
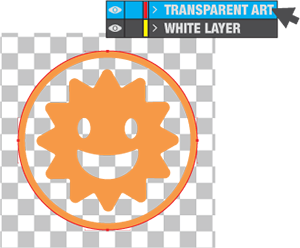
Next, create 2 new layers and drag them below your current layer.
Then click the small box to the right of your current layer and drag it to the third layer. This will move your blue box to the bottom layer.
Next, select the artwork. Hold option and perform the same action, but drag it to the 2nd layer. This will be your white back up. Hide the top layer, make sure the image on the 2nd layer is selected, and use the unify pathfinder tool. Change the color to white and make sure there are no transparencies in when this is performed. Show the 1st layer. Save your file and you are all set!
Now you know how to set up a clear sticker for StickerGiant.


